Creating Your First Roster
Tanda makes creating powerful cost-aware rosters easy! Once you have added your staff info into Tanda and created locations & teams you can start rostering.
Navigate to the Current Roster page.
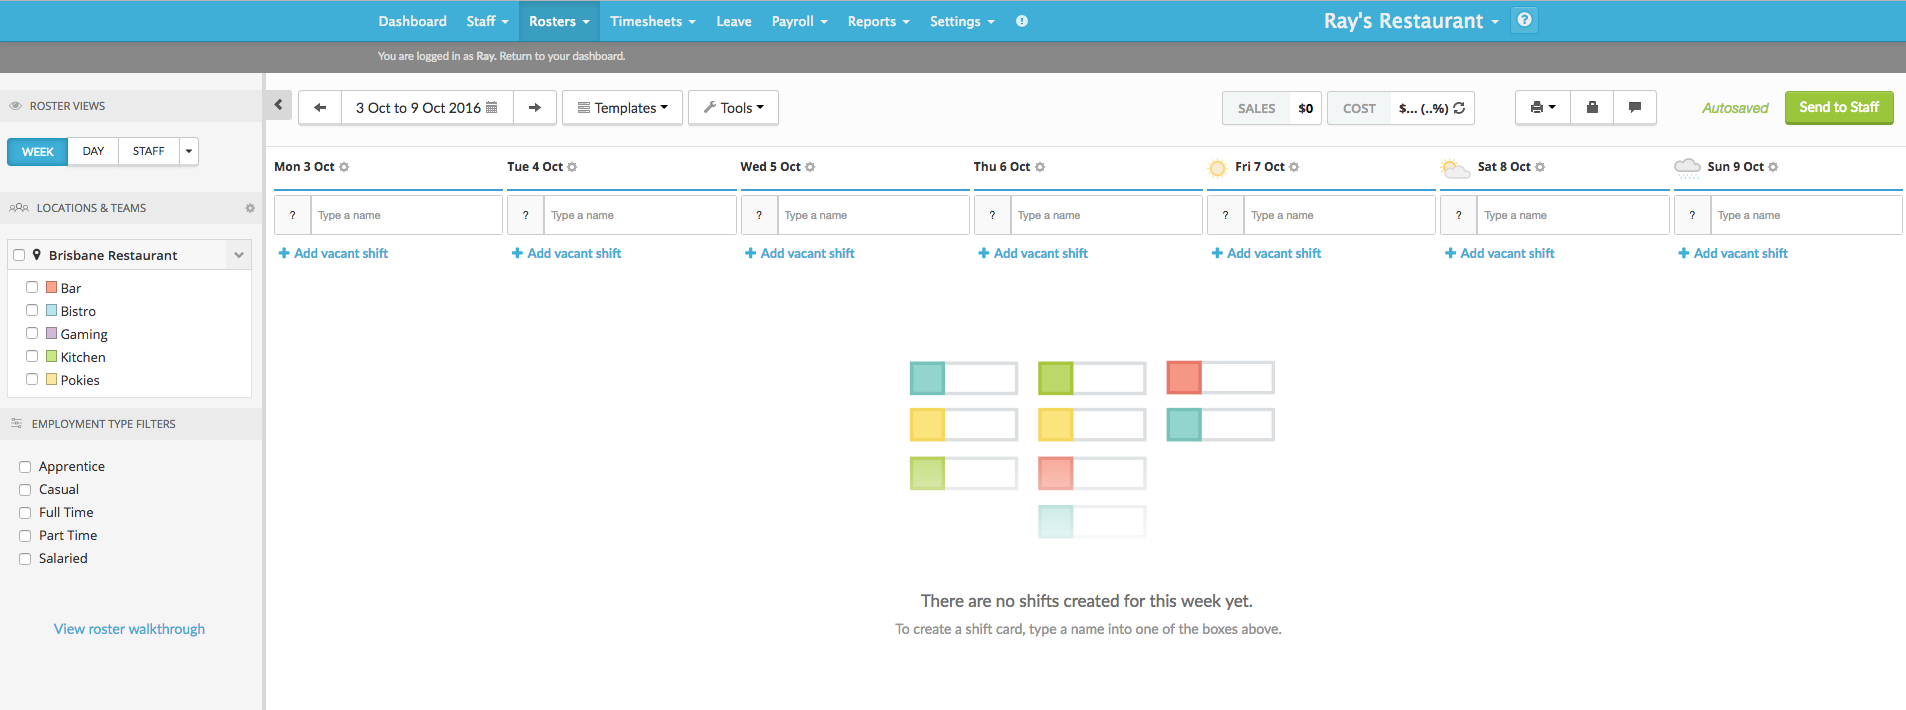
The first time you get to the rosters page it will be empty and look like this:
Roster Sidebar
Roster Views
Tanda offers multiple different views in which you can create rosters, the 3 main views include:
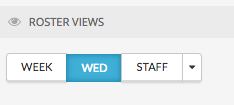
Week View: Create shifts on a day by day basis for the entire week. Staff View: Create shifts on staff by staff basis for the week. Day View: Create all shifts on a daily basis.
More information on roster views.
Location & team filters
Below the roster view switcher you will see all the locations and teams within. You can click the checkboxes to filter down and only see selected locations and teams on the roster.
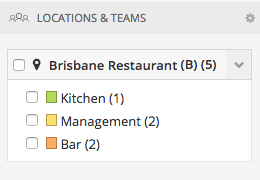
As a manager, you will only see teams that you are a manager of. For a detailed overview of the roster sidebar visit the Roster Sidebar article.
Create a Shift
To roster your first shift, click in the Type a name box and start typing the name of the employee:
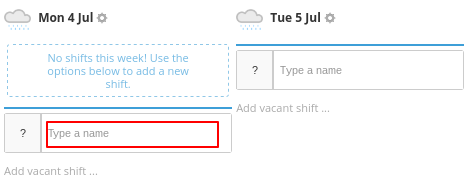
As you start typing, any staff that match those letters will show up, if the staff member you want is the first name, you can hit enter on the keyboard or use your mouse to click on that name to select it.
Enter Times
When entering times, remember:
- For morning (am) times, just enter the time. eg. 7 or 730
- For afternoon/pm times place a p at the end. So you would type 530p or put it in in 24hour time 1730
- For shifts that go into the early hours of the next day, place am at the end . So you would type 130am
The start time will be entered in the first box and the finish time in the second box.
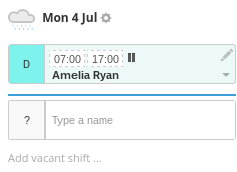
You can then continue to add other staff and set their shift times. You will notice that if a staff member is a member of one team only, their team will automatically be allocated to that shift. For example, Amelia is only a member of the Driving Team, and therefore it has allocated her into this team for her shift.
Duplicate/Copy Shifts
A quick way to copy shifts is to use keyboard shortcuts. Hover over the shift and press ctrl+c, then put your mouse over the blank shift and press ctrl+v to paste.
Another way to do this is by clicking the pencil icon in the top right corner:
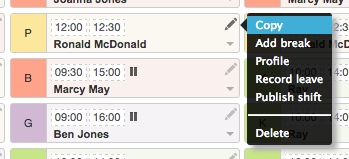
Click on copy and a duplicate of that shift will be created below. You can then drag the second shift card to another day.
You can then change the times or any other information of that duplicated shift if necessary.
Breaks
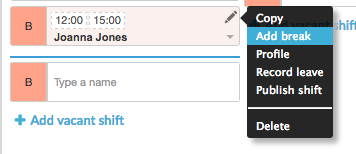
If you need to roster in exact break times, under the pencil icon, click Add break.
This takes you to the Day View screen i.e. Monday 4th. Under the Break column for the shift enter the start and finish time of the break in the format below. It will then calculate the length of this break for you.
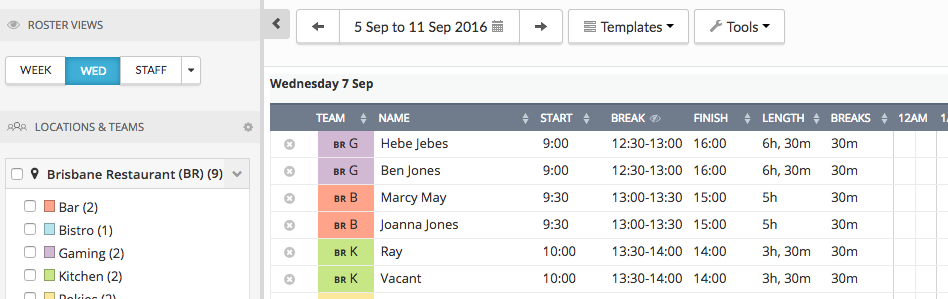
To get back to the Week view of the Roster, click on the date above, in this example where it shows Mon 4th and select Week View.
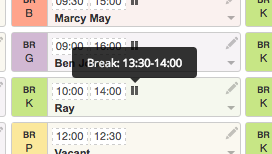
You will now see, when you hover the pause/break icon that a break time has been set. Each staff member will be notified of their break times when they receive their roster.
Alternatively, if your staff don’t take set break times, but need to have a portion of their shift taken out for an unpaid break, you can set this in the Settings menu.
Have a read of our guide on how to Configure Breaks in Settings for more information.
Once you have configured these automatic breaks in settings, when you hover over the pause/break icon, you will see this is now reflected as Automatic break. The staff member will not be notified of break times when setting a break in this way but it will reflect in the roster costs.
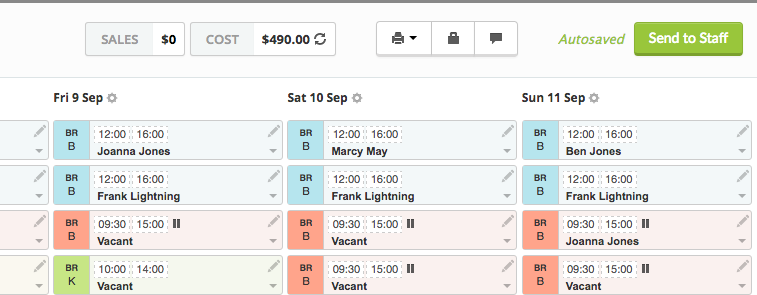
Publishing The Roster
If you’re happy with the level of detail on the roster as it is now, you can click green Send to Staff button.
Note : To avoid any confusion while you build your roster, Staff will not be able to view their Roster until you send it to them, or three days before the rostered pay period is due to start.
This article provides only an overview of rostering in Tanda, visit the rostering category page and explore our other articles.