Create Shifts
Let staff know when and where they are working by creating shift cards on the roster. To create a shift card, head to Rosters > Current Roster and click in the Type a name prompt box.

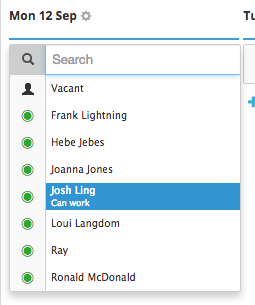
1. Select a Staff Member
When you click to Type a name, a list of staff members will be displayed. Simply click on the staff member you would like to create a shift for. If the staff member you’re looking to create a shift for is the first name, you can hit enter on the keyboard.
2. Add a team
The next step to creating a shift is to specify a team. Using Teams on the Roster enables you to let staff know which area they are working in that shift, as well as being able to report on the Costs of those Teams. - add link
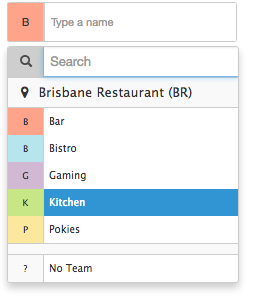
To specify a team for a shift, click on the question mark on the left side of the shift card to see a list of teams the staff member can be allocated to. Select the relevant team for that shift. If a staff member is a member of one team only, their team will automatically be allocated to that shift.
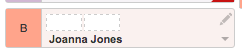
3. Enter Times
The final step is to specify when the shift starts and ends in the respective boxes above their name. Rosters operate on 24 hour time, but if you’re you’re unsure of the what a time is in the 24 hour format, it can be entered into a shift card as follows:
- For morning (am) times, just enter the time. Example: 7 or 730
- For afternoon/pm times place ‘pm’ at the end. Example: 530pm
- For shifts that finish in the early hours of the next day, place ‘am’ at the end. Example: 1am
Times entered as above will then be converted into 24 hour time.
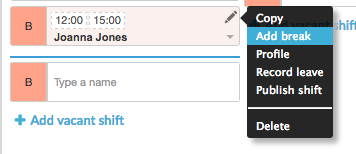
4. Allocate Break Times (optional)
If you’d like you can also allocate break times for a shift. To do this, click on the pause icon next to the shift times or hover over the pencil icon in the top right-hand corner of the shift card and click Add break.
This takes you to the Day View screen. Under the Break column, enter the start and finish time with a ‘-’ in between. The length of the break will then be calculated for you.

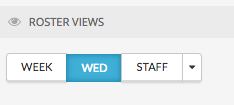
To get back to the Week view of the Roster, click Week under ‘Views’ in the roster sidebar. You will then see that when you hover the pause/break icon, a break time has been set. The staff member will be notified of their break times when they receive their roster.