Roster Sidebar
The roster sidebar gives you the option to view and create rosters quickly and intuitively. With a wide variety of roster views and options for filtering you have the flexibility to quickly create detailed rosters for your business.
Roster Views
The first option in the roster sidebar is the view switcher.
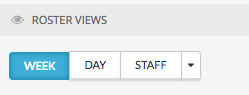
Use this to switch between the different roster views.
Locations & Teams
The next section in the sidebar is the locations & teams filters. Each location set up in your account, and the teams within, will be listed as a separate set of filters.
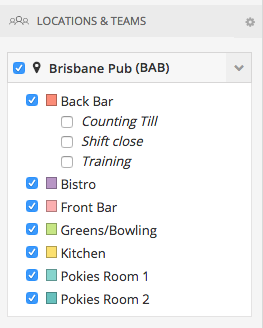
You can filter by any combination of teams and locations by ticking the checkbox next to their names. Tanda will save your filter preferences so that when you look at the roster again later, your filters are still selected.
If you have multiple locations in your business, click the settings cog next to the locations and teams title to collapse or expand them all at once. You can also click the arrows on each location box to collapse them manually.
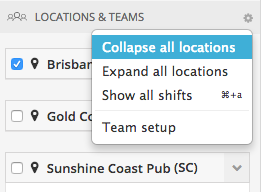
If you want to clear all filters and show your entire roster click Show all shifts.
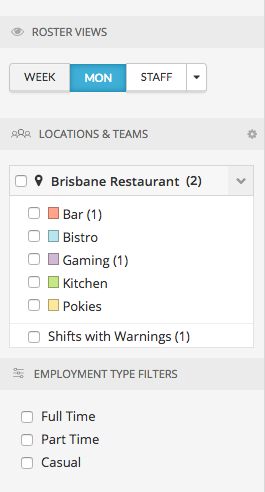
Employment type filters
If your account is setup with a managed award template you will see a third set of filters in your sidebar called “employment type filters”.
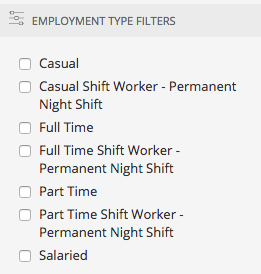
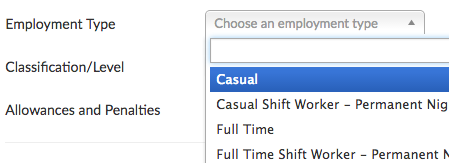
As long as your staff are tagged appropriately within their individual profile (on the payroll tab) you can use the employment filters to roster according to employment type. Tick the filter and when rostering you will only be able to roster staff that match that filter - for example you can roster only casual staff.
For more information about setting up employee profiles visit this article.